语言:中文 | English
这个工程介绍了如何在InternLM的InternStudio上部署InternLM的各个版本的模型,并将大模型应用到Chat2DB客户端中。读者也可以自行选择合适的云平台进行部署。
感谢InternLM对本项目的大力支持,欢迎大家关注InternLM获取更多信息,后续会在本文档中陆续加入如何微调InternLM模型的教程。
| 模型 | 最低GPU显存(推理) | 最低GPU显存(高效参数微调) |
|---|---|---|
| InternLM-7b | 18GB | 24GB |
| InternLM2-7b | 18GB | 24GB |
| InternLM-20b | 42GB | 58GB |
| InternLM2-20b | 42GB | 58GB |
-
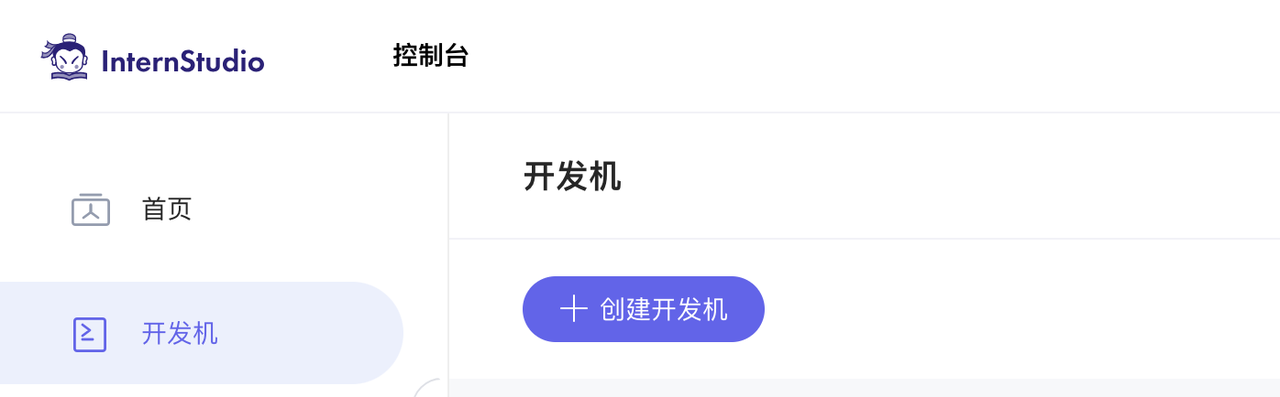
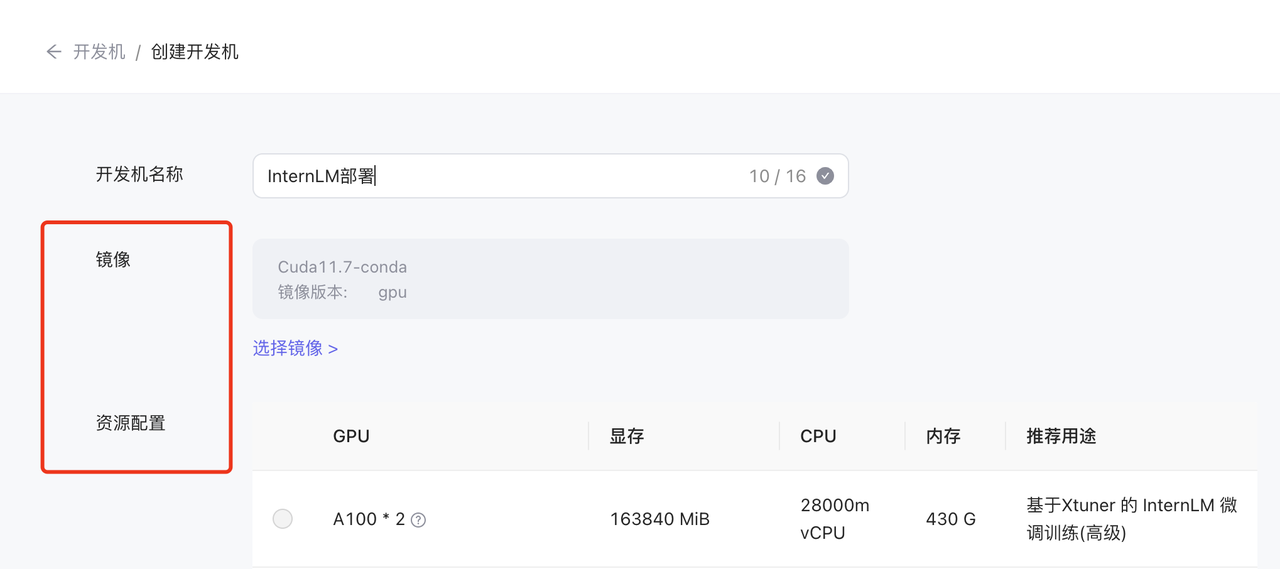
创建一个开发机实例,可以根据需要的算力配置开发机的规格
-
进入开发机在开发机上打开一个终端,安装FastChat
conda create -n fastchat python=3.10 -y
conda activate fastchat
pip install "fschat[model_worker,webui]" -i https://pypi.tuna.tsinghua.edu.cn/simple
pip install einops -i https://pypi.tuna.tsinghua.edu.cn/simple- 执行如下命令来启动InternLM模型,InternLM各个版本的模型默认放在/root/share/model_repos/文件夹下,启动不同的模型只需修改如下命令中的模型路径即可,如果读者是使用的其他云平台,可以手动下载模型并将模型放在任意路径下,然后修改如下命令中的模型路径即可
python -m fastchat.serve.controller --host 0.0.0.0 --port 21001
python -m fastchat.serve.model_worker --model-path /root/share/model_repos/internlm2-7b --host 0.0.0.0
python -m fastchat.serve.test_message --model-name internlm2-7b
python3 -m fastchat.serve.openai_api_server --host 0.0.0.0 --port 8000
5.参考InternLM文档将服务器上的8000端口转发到本地开发机的9990端口
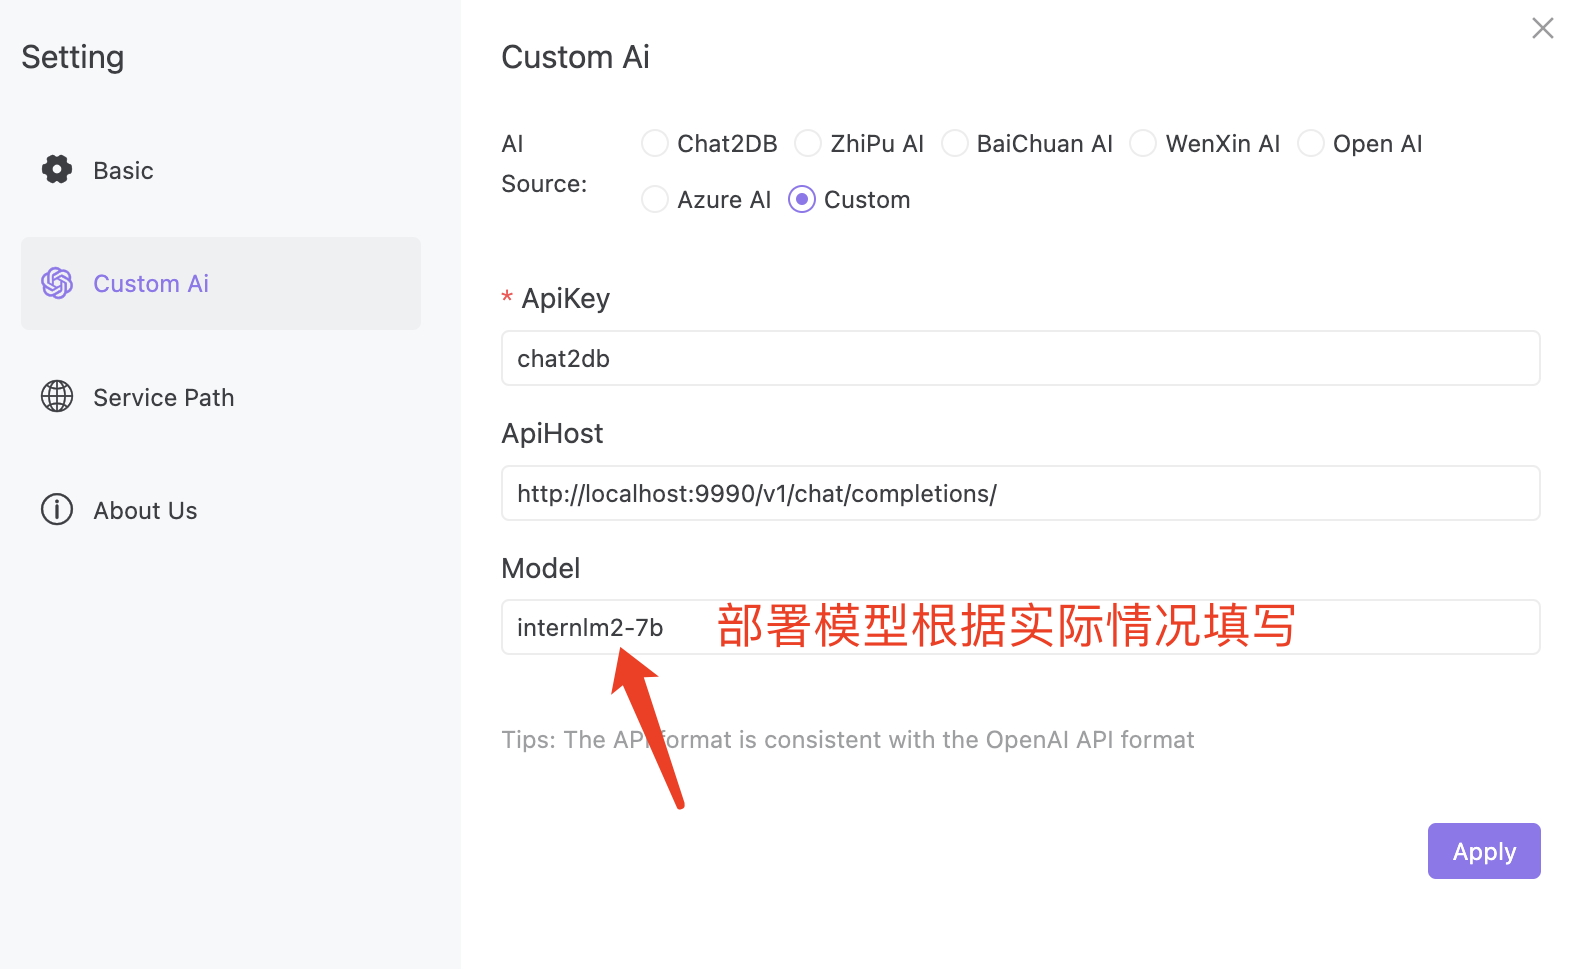
6.参考下图配置Chat2DB客户端,如果读者是部署的其他版本模型,对应的修改如下模型配置即可