Simracing Telemetry data source plugin makes it possible to visualize telemetry data from various simracing titles such as Assetto Corsa Competizione, iRacing and others in Grafana.
- Real-time telemetry data visualization
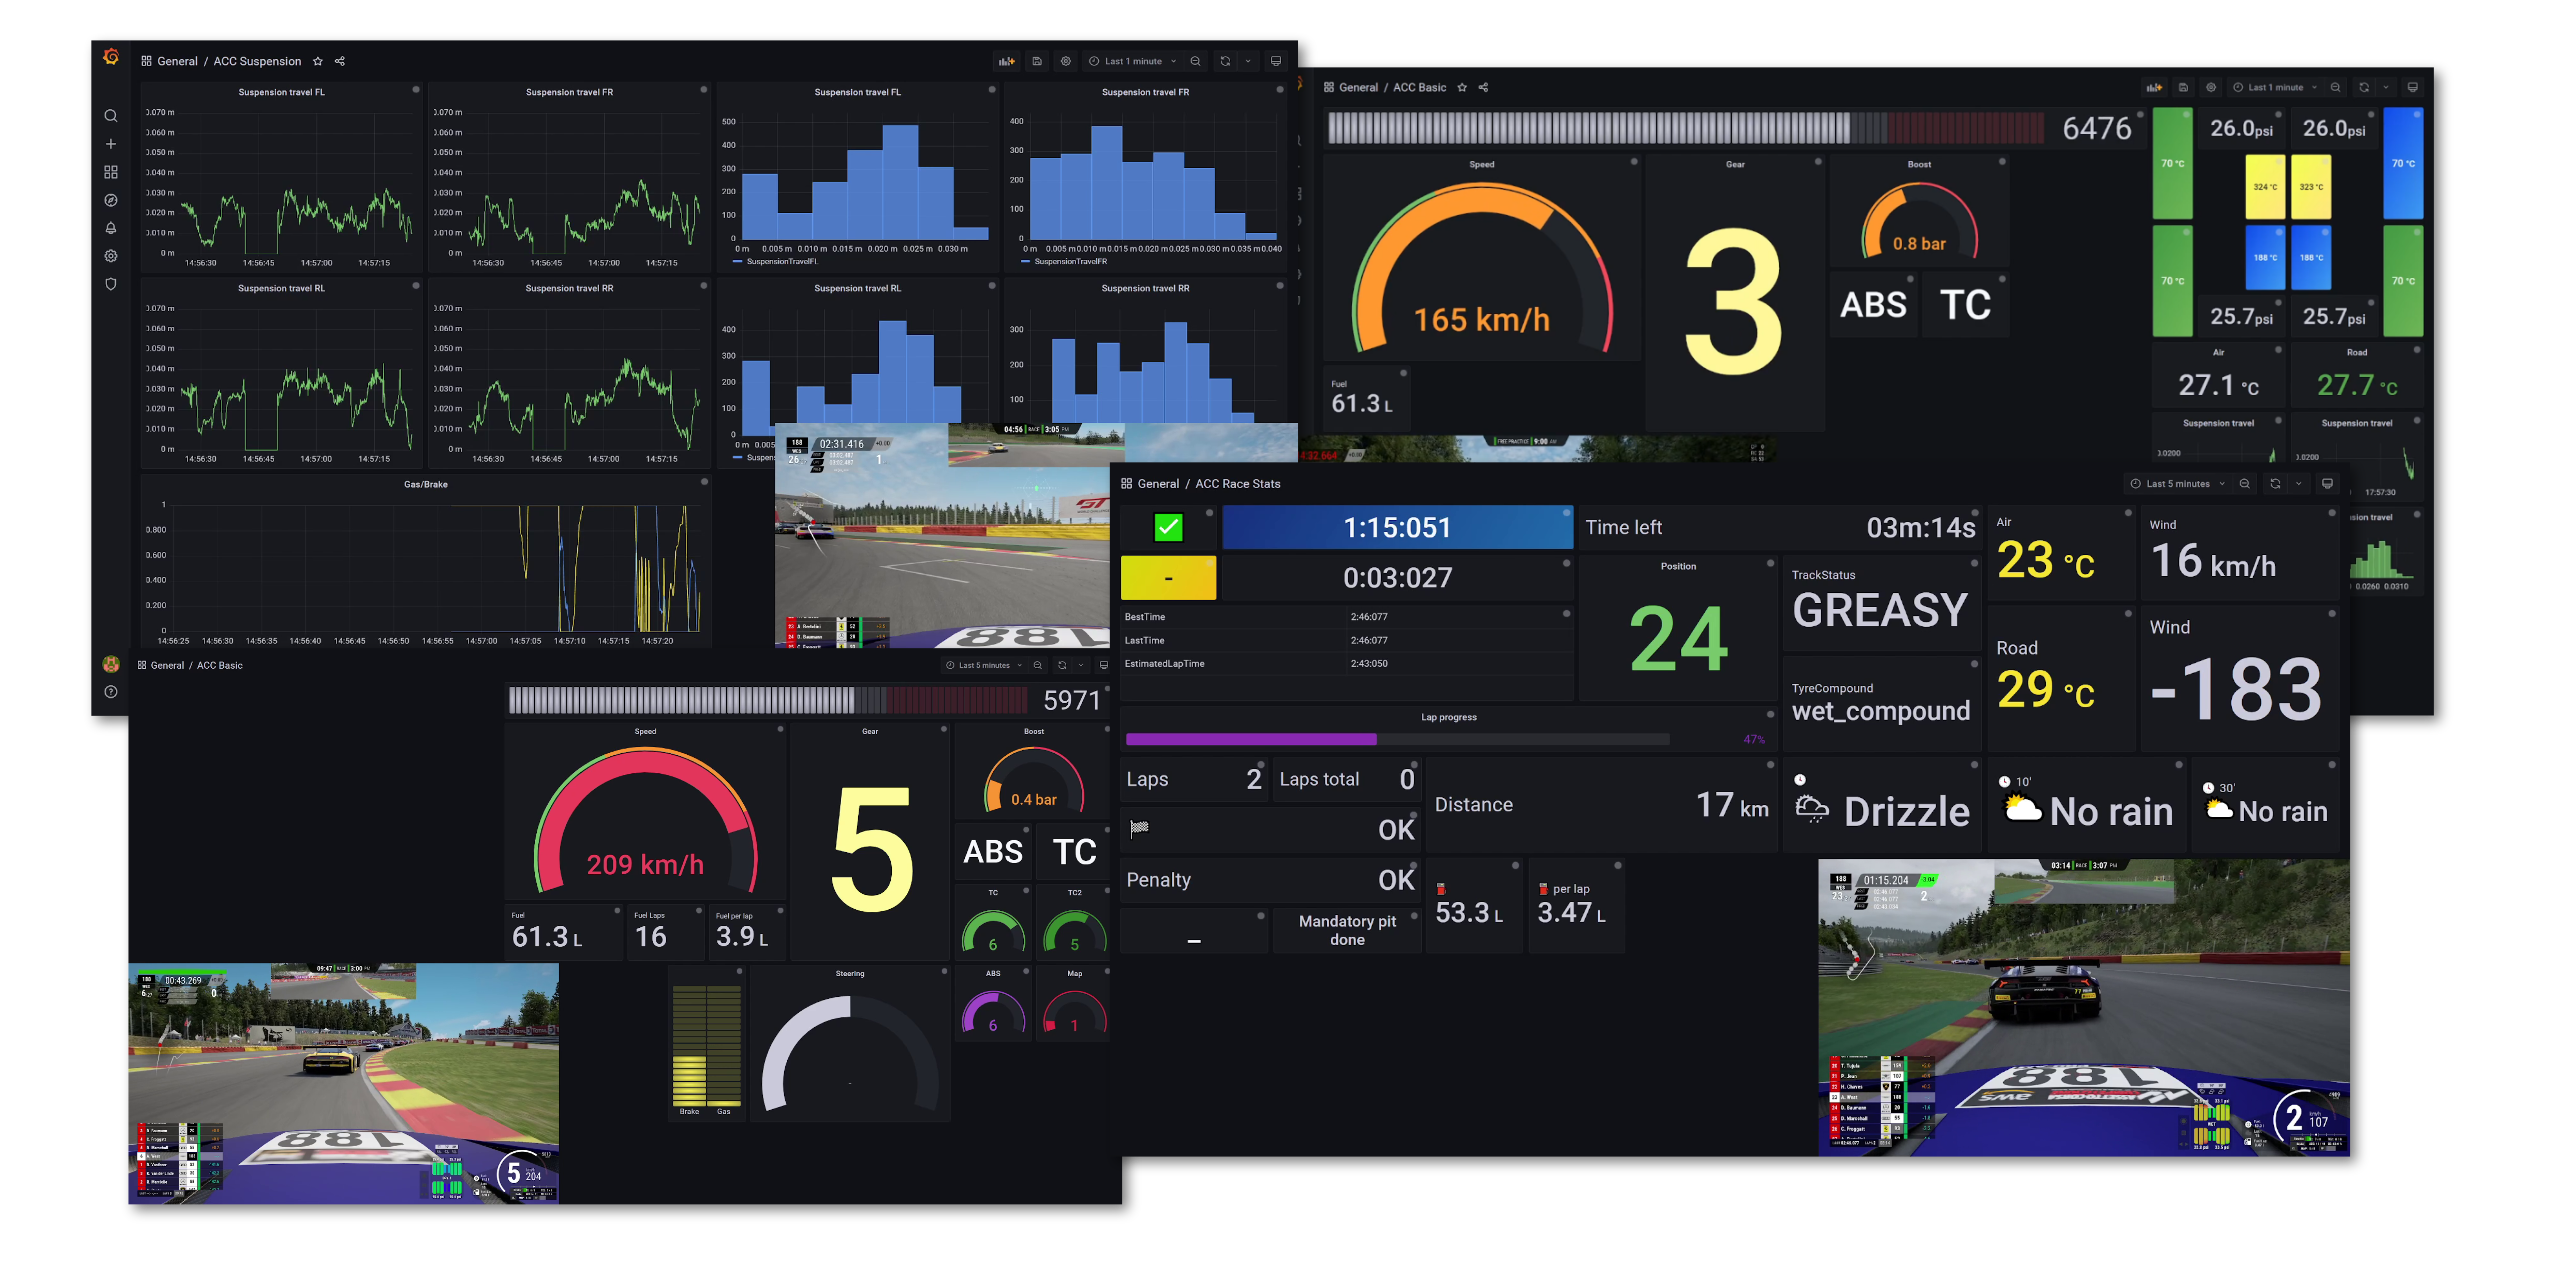
- Highly customizable dashboards
Here's a demo video showing plugin capabilities.
Currently, plugin supports following games:
- Assetto Corsa Competizione
- Assetto Corsa (experimental)
- iRacing
- Dirt Rally 2.0
- BeamNG Drive
- Forza Horizon 5
- Forza Horizon 4 (experimental)
Most of simracing titles are intended to be run on Windows. In general, Grafana and plugin can be run on any supported platform, since some titles send telemetry over the network. But Assetto Corsa Competizione and iRacing provide its telemetry via Memory-mapped files, so Grafana, plugin and game should be running on the same system (Windows). Thus, Windows now is the only supported platform.
If you're not familiar with Grafana software, I would recommend
to use bundled Grafana package which shipped with this plugin. It contains Grafana with
installed and preconfigured data source and dashboards. In order to use it, navigate to the
github releases page
and download grafana-bundled.windows-amd64.zip package from assets. Then, unpack it and go to the
grafana-x.x.x\bin folder. Right click grafana-server.exe and run it as an admin to start Grafana server.
Windows might ask you to allow network access for the Grafana server (it required to get telemetry from games over the network).
Then open http://localhost:3000 in a browser. You will see Grafana login page.
Default credentials are admin:admin. Now you're ready to go. Click on General/Home at the top and select
dashboard you want to start with.
Download Grafana from official website and install it (select OSS edition and Windows platform). Read the Windows installation guide. Refer to plugin installation guide and read how to install plugin. There are few ways how to do it.
Important note: I recommend installing Grafana as a standalone Windows binary and not running it as a Windows service, because there's an issue with accessing memory-mapped files (so it affects Assetto Corsa and iRacing) in this mode. Read more in corresponding issue.
Go to the github releases
and select latest release. Download alexanderzobnin-simracingtelemetry-datasource-x.x.x.zip file from the assets.
Unpack it into your grafana plugins directory (by default it's C:\Program Files\GrafanaLabs\grafana\data\plugins or
data\plugins inside unpacked grafana folder when it's installed from zip file).
Create plugins folder if it's not exist. Then, restart Grafana server. It can be done within a task manager (services tab).
In order to be able to install / uninstall / update plugins using plugin catalog,
you must enable it via the plugin_admin_enabled flag in the configuration file.
Before following the steps below, make sure you are logged in as a Grafana administrator.
To install a plugin:
- In Grafana, navigate to the Plugin catalog to view installed plugins.
- Browse and find a plugin.
- Click on the plugin logo.
- Click Install.
Navigate to the Configuration -> Data sources in Grafana side menu and click Add data source. Select Simracing Telemetry from the list and press Save & test. You can also enable Default toggle near data source name to make data source default source when you create new queries.
At the data source config page, navigate to Dashboards tab and import dashboards for the game you want to use.
Then, go to the Grafana home page and select dashboard from the dropdown at the top left. Now, you can run the game and start exploring your telemetry.
Some games do not send telemetry by default, so you need to perform some extra steps to enable it.
Here's instruction from Race Department:
-
Locate the config file by going to the following path in Windows explorer (Note: this may be different for you, depending on your operating system). Replace "{Yourusername}" with your username.
C:\Users\{Yourusername}\Documents\My Games\DiRT Rally 2.0\hardwaresettings -
Locate a file called "hardware_settings_config"
-
Make a backup of this file (just in case).
-
Open the file in a text editor (like notepad).
-
Locate the following line:
<udp enabled="false" extradata="0" ip="127.0.0.1" port="20777" delay="1" /> -
Update "enabled" to "true".
-
Update "extradata" to "3"
-
Your new line of code should look like this:
<udp enabled="true" extradata="3" ip="127.0.0.1" port="20777" delay="1" /> -
Save the file and start the game.
BeamNG Drive can export telemetry via OutGauge protocol. It should be enabled
in Options -> Other -> Utilities -> OutGauge support. Use default
values (IP 127.0.0.1 and port 44444).