With this plugin you able to add Vector Graphics into your content. Build your own diagrams/graphs by using mathematics functions. This plugin using Asciisvg.js libary for rendering graphs.
Reference and ideas taken from this project: http://www.imathas.com/editordemo/demo.html.
This plugin compatible with TinyMce 4.
npm install graph-tinymce-plugin --save
bower install graph-tinymce-plugin --save
Configure your TinyMce init settings by adding external_plugins and usage of graphTinymcePlugin:
  tinymce.init({
    selector: 'textarea',
    external_plugins: {'graphTinymcePlugin': '/your-path-to-plugin/graph-tinymce-plugin/plugin.min.js'}, // Add plugin to Tinymce
    toolbar: 'graphTinymcePlugin',
    graph_uploader: function (file, cb) {
      // Here is your uploader logic, start to upload you image here like that:

      // yourUploader.sendIMG(file.blob)
      //   .then(function(url){
      //      // Take a look at "class='tinymce-graph'" and "graph-data='" + file.graphData + "'", it is really important to keep it in the tag - that's way you able to edit your graph.
      //      cb("<img class='tinymce-graph' graph-data='" + file.graphData + "' width='" + file.width + "' height='" + file.height + "' src='" + url + "' />");
      //   });

      // or just put SVG-html into your content. Example:
      cb(file.html);
    }
  });
There are 2 options how to use this plugin:
- Add SVG tag width graph into your content, I found that is very hard to work with SVG into Tinymce. It's hard to align or edit because it contains a lot of tags inside.
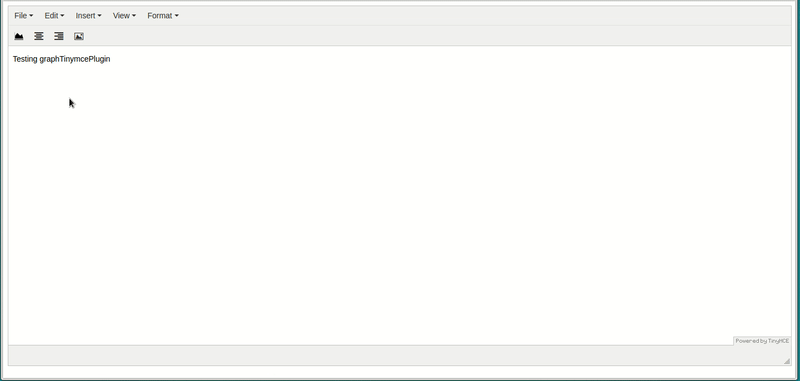
- Is to upload "Blob file" that plugin returns to your own server and after that add the IMG tag with path to the file. If you are using this method, you able to edit the graph and update the changes. (Take a look at the screenshot above).
This repository contains only dist files, if you want to get the source, check: graph-tinymce-plugin.